


Choose Your Fit
The Liv™ family of built-in water dispensers brings water right where you need it — seamlessly integrated into your home or workspace.
Browse Our Products
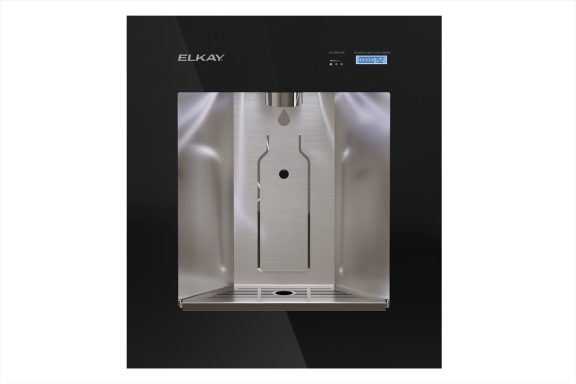


- LBWD06BKK
- LBWDC00BKC
- LBWD00BKC
- LBWDM0BKBC
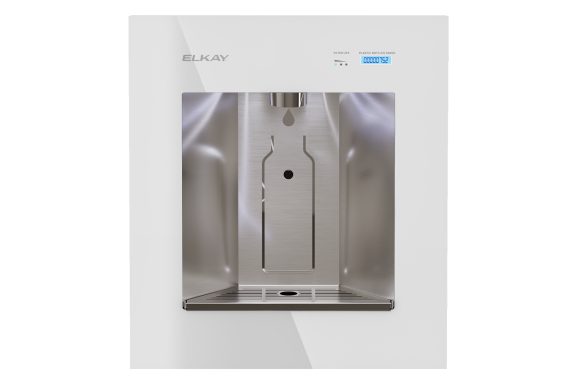
- LBWDM0WHBC
- LBWDM0SSBC
- LBWD06WHK
- LBWDC00WHC
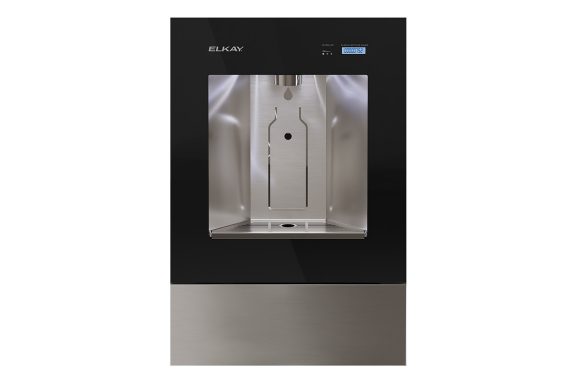
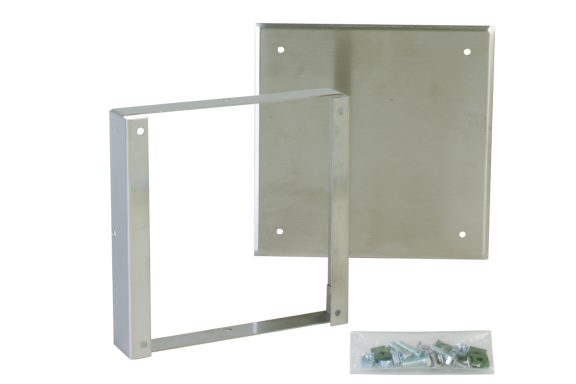
- 71300C
- AP99
For Your Workspace: Liv Pro
Professional-grade hydration for modern offices, collaborative spaces and commercial facilities.

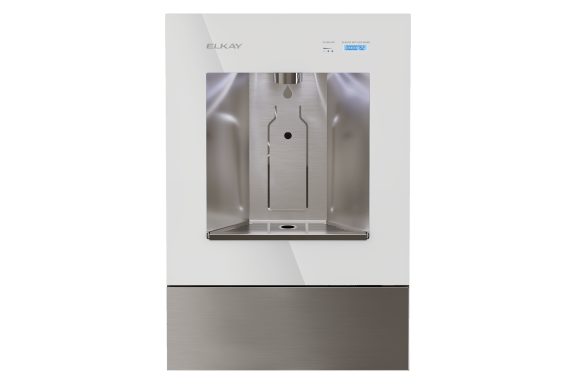
For Your Home: Liv and Liv EZ
Two ways to bring filtered water into your kitchen, bar or entertainment area.


Which Liv is Right for You?
| Model | Perfect For | Key Features |
|---|---|---|
 Liv EZ (Residential) | Small Home Remodels, Upgrade Projects |
|
Liv (Residential) | New Construction, Large Remodels |
|
Liv Pro (Commercial) | Offices, Shared Spaces, Commercial |
 |